How To
 20mins
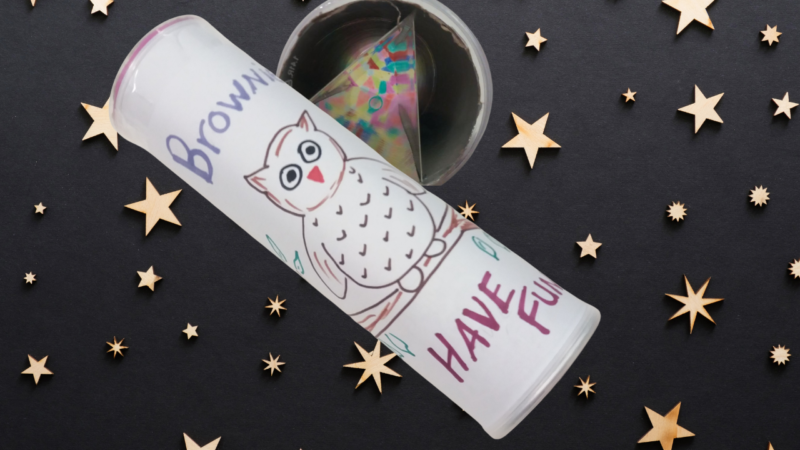
A kaleidoscope works by reflecting light. As you turn the tube, you can see patterns of colours at the other end of the tube.
Gather all the other materials listed that you require.
Follow the instructions on this webpage to complete activity.
You Will need
-
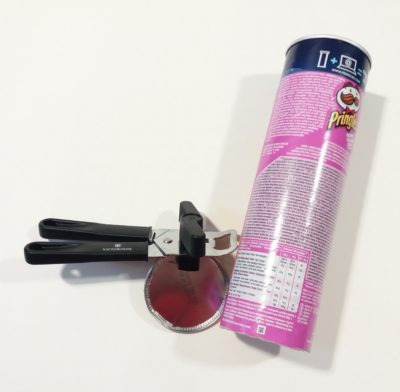
Pringles Tube
-
Extra End Cap from Pringles Tube
-
Silver Card
-
Permanent Marker
-
Sticky Tape or Glue
-
Pencil
-
Scissors
-
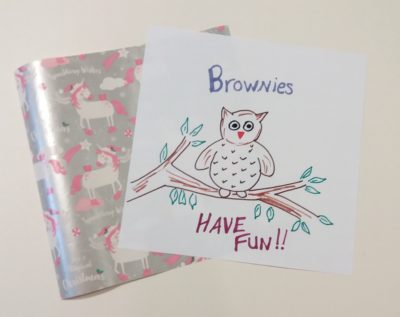
Wrapping Paper or Plain paper
-
Tin Opener
Have this list of everything you need sent direct to your inbox
-
 4-7yrs
 -
 7-10yrs
Instructions
![Kaleidoscope]()
Using a tin opener cut off the metal end of the tube and discard.
![Kaleidoscope]()
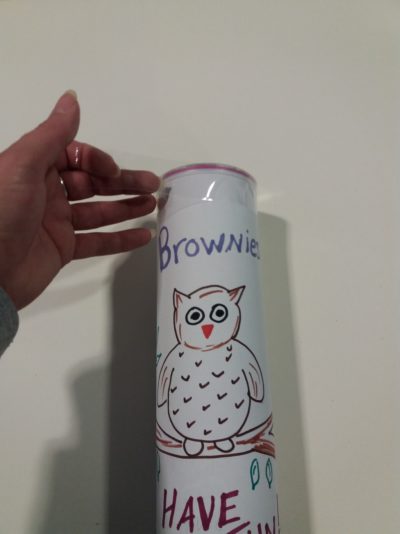
Cut the paper to 245mm x 245mm. If you are using plain paper, you can draw your own design.
![Kaleidoscope]()
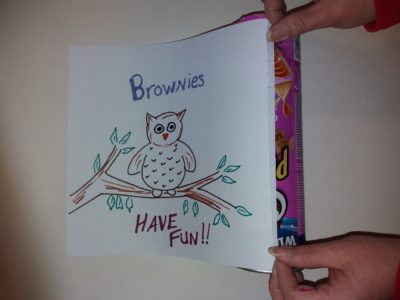
Cover the outside of the tub with your paper. Start by sticking one edge of the paper to the tube.
![Kaleidoscope]()
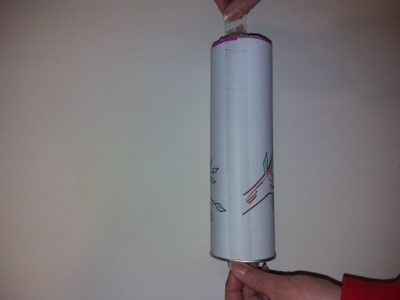
Roll the paper around the tube and secure with tape.
![Kaleidoscope]()
Place the clear cap onto one end of your tube and stick it down using the tape. Best to stick this onto the end you cut off.
![Kaleidoscope]()
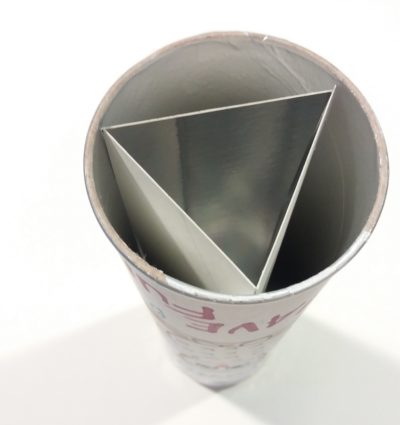
Using your silver card cut into strips of 250mm x 62mm, place 3 strips inside the tube with the shiny silver side facing inwards.
![Kaleidoscope]()
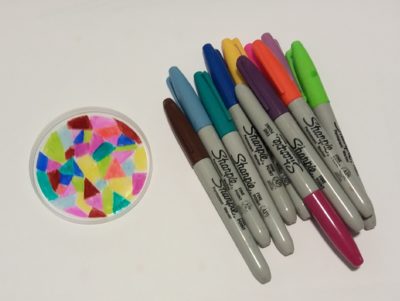
Using the other clear end cap start to make colourful shapes. Triangles work well. The smaller the shape the better effect you will have.
![Kaleidoscope]()
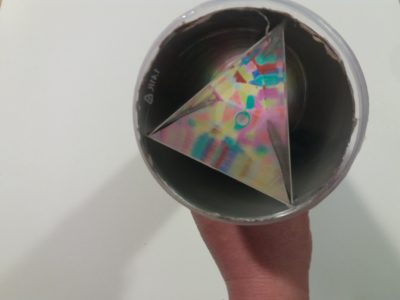
And finally place this cap into the other end of the tube. Look through the clear end and at the same time rotate the tube. Look at all the pretty colours!


